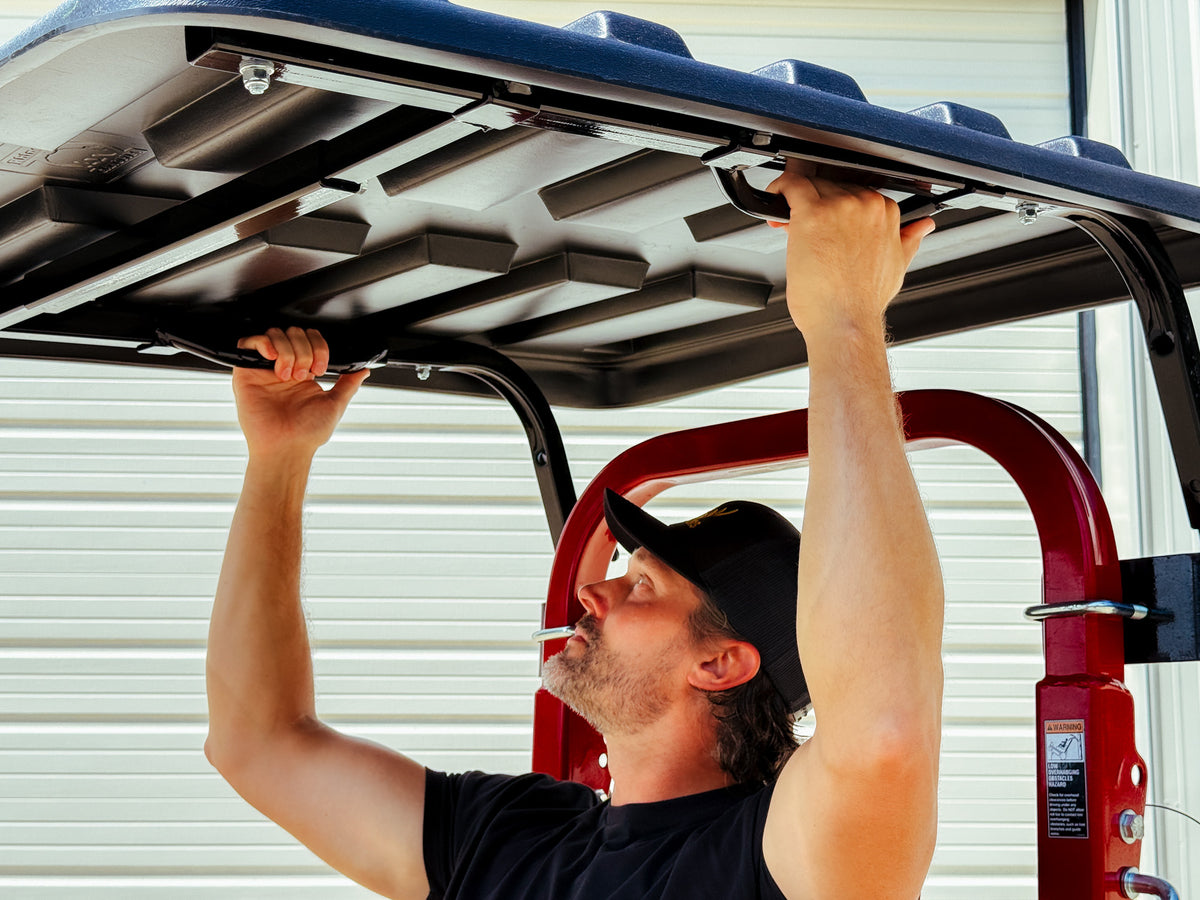
Canopy Installation Guide
Considerations For Your Install
Multiple Mounting Positions
With our hardware you can mount our shell anywhere along your roll bar: above it, flush with the top, below it.
Max Width
The canopy arms cannot be further apart than 33 inches, or they will run into the edge of the shell.
Step 01
Installing the L-Brackets
- Place the L-brackets against your roll bar, facing forwards or backwards.*
- Mount the brackets toward either the inside or outside of the roll bar.**
- Insert a U-bolt from the opposite side of the roll bar through the two holes in the L-bracket.
- Add a split lock washer and 3/4″ nut to each end of the U-bolt. Snug the nuts just enough to hold the bracket in place.
- Repeat on the other side.
Parts needed
-
U-Bolts (2)
-
L-Brackets (2)
-
Split Washers (4)
-
3/4" Nut (4)
Step 02
Securing the Risers
- Place a serrated bolt through the top hole and secure with a serrated nut.
- Place a serrated bolt through the bottom slot and secure with a serrated nut.
- Snug both so the riser holds its position (you will set the angle later).
- Repeat on the other side.
Parts needed
-
Riser (2)
-
Serrated Bolt (4)
-
Serrated Nut (4)
Step 03
Setting Your Canopy Angle
- Place the support arms over the risers
- Set them at the angle you desire for your canopy.*
- Tighten the nuts once the angle is set.
*You can install your canopy perfectly level or angled slightly down in front. Some customers do this to encourage branches to slip up and over.
Parts needed
-
Support Arms (4)
Step 04
Attaching The Shell
- Slide the canopy shell onto the support arms, centering it left to right.*
- Position it front to back so the pre-drilled holes in the arms align with the flat bottom of the ribs.*
- Clamp in place.
- Using a 3/8″ bit, drill through the pre-drilled arm holes and through the plastic shell.**
- From the top of the shell, insert a 5/16″ bolt with a fender washer and secure underneath with a 5/16″ washer and nylon lock nut.
- Repeat for the remaining three holes.
Tips
* The back of the canopy has the rib flush with the edge.
**If this doesn't give you the placement you want, ignore the holes and drill your own
** The oversized hole allows the shell to expand in hot temperatures.
If you have Grab Handles or the Accessory Bar, don't secure the front two bolts just yet.
Parts needed
-
Canopy Shell
-
5/16 Bolt (4)
-
5/16 Fender Washer (4)
-
5/16" Washer (4)
-
5/16 Nylon Lock Nut (4)
Step 05
Adding Hand Screws
- Screw in the hand-screw to the welded nut in the support arms.
- Ensure each nut has been tightened securely.
Parts needed
-
Hand Screws (2)
Installation Guides For Other Products